When it comes to sending sensitive information, knowing how to send encrypted emails in Outlook is crucial. By encrypting your emails, you ensure that only the intended recipient can read the message, protecting your data from unauthorized access. Outlook offers two primary encryption methods: S/MIME encryption and Microsoft 365 Message Encryption.
Understanding Outlook Encryption Options
Microsoft Outlook is a reliable email client for managing your personal and professional accounts. It offers many options, like creating folders and moving emails to manage your conversations. Among its features, the ability to encrypt emails will not go unappreciated by office-goers. Outlook supports two main types of email encryption: S/MIME and Microsoft 365 Message Encryption. Both methods provide robust security features but require different setups. Let’s delve into each method and understand how to configure them.
S/MIME Encryption Setup
S/MIME encryption is a widely used standard supported by many email applications, including Outlook. To use S/MIME, both the sender and the recipient must have mail applications that support this standard. Here are the steps to set up and use S/MIME encryption:
| Step | Action |
|---|---|
| 1 | Add a certificate to your computer’s keychain. |
| 2 | Open Outlook, go to File > Options > Trust Center > Trust Center Settings. |
| 3 | In the left pane, select Email Security. |
| 4 | Under Encrypted email, choose Settings. |
| 5 | Under Certificates and Algorithms, click Choose and select the S/MIME certificate. |
| 6 | Click OK to save the settings. |
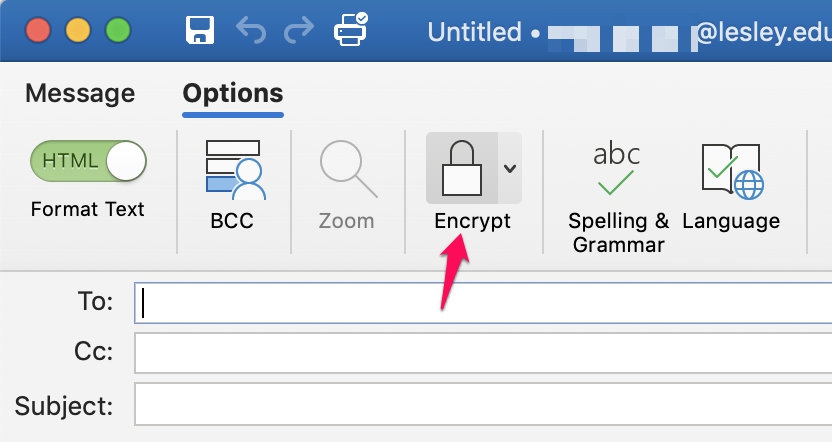
| 7 | In an email message, choose Options, select Encrypt, and pick Encrypt with S/MIME. |
| 8 | Finish composing your email and then choose Send. |
Microsoft 365 Message Encryption
Microsoft 365 Message Encryption is available to users with an Office 365 Enterprise E3 license. This method allows users to enforce various restrictions on their emails, ensuring additional layers of security. Here’s how to use Microsoft 365 Message Encryption:
- In an email message, choose Options, select Encrypt, and pick the desired encryption option, such as Encrypt-Only or Do Not Forward.
- For Outlook 2019 and 2016 users, go to Options > Permissions and select the desired restriction.
- In the message you are composing, click File > Properties.
- Click Security Settings, then select the Encrypt message contents and attachments check box.
- Compose your message, and then click Send.
Encrypting All Outgoing Messages by Default
If you want to encrypt all your emails, follow these steps to enable the option. First, switch to the Legacy version of Outlook on your Windows PC. To ensure that all your outgoing messages are encrypted by default, follow these steps:
- Go to the File tab and choose Options > Trust Center > Trust Center Settings.
- On the Email Security tab, under Encrypted email, select the Encrypt contents and attachments for outgoing messages check box.
- To change additional settings, such as selecting a specific certificate, click Settings.
- Click OK to confirm.
How to Encrypt Emails in Outlook on Mac
Here’s how you can send encrypted emails from the Outlook app on your Mac:
- Open the Outlook app on your Mac.
- Click on New Email at the top-right corner.
- Click the three dots towards the top right side of the Compose section and select Encryption.
- Note that the Encryption option is greyed out for our Outlook account as we don’t have the signing certificate to send encrypted emails. If you have a Microsoft 365 membership, this should not be an issue.
- After selecting encryption, add all the relevant details and send your email.
Open and View Encrypted Emails in Outlook
When you receive an encrypted email in your Outlook account, you can click on ‘Read This Message’ in the email body. A new window will open in your browser using your Microsoft account to display your message. However, if you receive an encrypted Outlook email on your Gmail or Yahoo account, here’s how to view the message:
- Go to your inbox and open the encrypted Outlook email that you have received.
- Click on ‘Read The Message’.
- You can now use your Google account or get a six-digit passcode to view the email contents.
Can You Prevent Email Forwarding in Outlook?
You can restrict the recipients from forwarding your encrypted emails. Here’s how to enable that option in your Outlook account:
- Open Outlook on your Windows PC.
- Compose a new email and click on Options in the Menu Bar.
- Select Do Not Forward. This will prevent your encrypted email from getting forwarded. You will also see the same option in the Outlook app on Mac while accessing the Encryption option.
How to Move the Encrypt Button in Outlook
You can also choose to change the location of the Encrypt button in the Outlook app. Here are the steps to move the Mac and Windows PC Encrypt buttons:
On Windows PC
- Open Outlook on your Windows PC.
- Click the toolbar, which currently has your Encryption option.
- Right-click the toolbar ribbon and select Customize Ribbon.
- Under Customize Classic Ribbon, expand Options, and select Encrypt.
- Use the arrow icon to move the Encrypt option to a new toolbar.
- Click OK at the bottom to confirm your selection.
Securing Your Outlook Emails
Encrypting your emails in Outlook is an essential practice for sharing sensitive content securely with colleagues and peers. By using the available encryption methods, you can protect your communications from unauthorized access. Whether you’re using S/MIME or Microsoft 365 Message Encryption, Outlook provides robust options to keep your emails secure. Start encrypting your emails today to ensure your information stays private and secure.