If you’re holding an iPhone and have a video that’s just too long for your needs, this tutorial will walk you through the process of trimming it down to the perfect size. Whether you’re aiming to preserve a gaming achievement or save a favorite scene, you can do it all within your iPhone’s Photos app.
Getting Started with Video Trimming
Begin by launching the Photos app and locating the video you want to edit. Open the video, and you’ll be greeted by an array of editing tools at the screen’s base. For now, our focus will remain on trimming the excess footage.
Steps to Trim Your Video
| Step | Action | Description |
|---|---|---|
| 1 | Select Video | Navigate to your video within the Photos app and tap to select it. |
| 2 | Edit Mode | Tap ‘Edit’ in the top right to start modifying your video. |
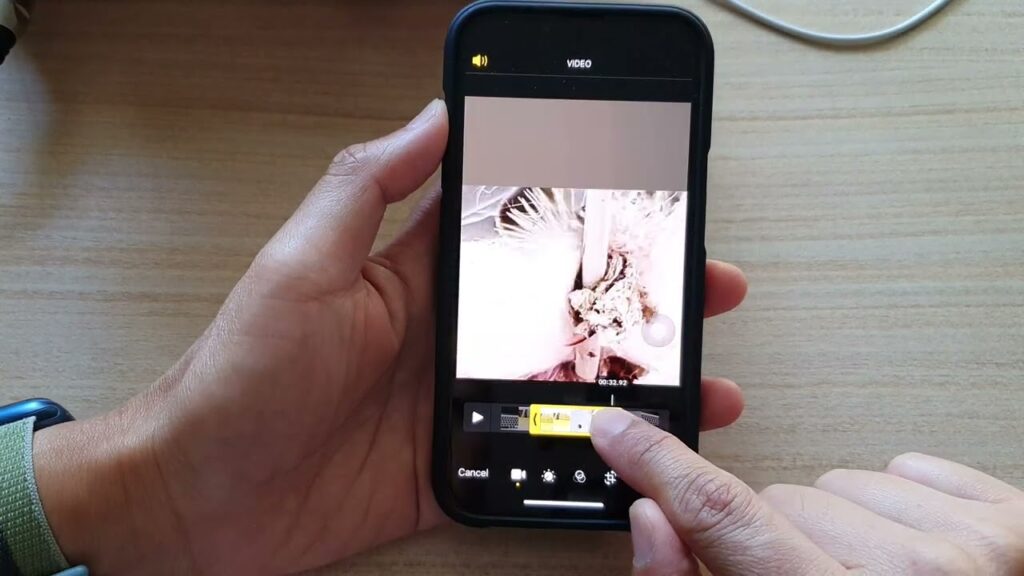
| 3 | Adjust Duration | Use the slider handles at the video’s edges to define the new start and end points. |
| 4 | Save Edits | Press ‘Done’ and choose ‘Save as New Clip’ to finalize your edits. |
Perfecting Your Clip
As you adjust the start and end points of your video, use the preview option to ensure you’re not omitting any crucial moments. This iterative process allows you to refine the video to your exact specifications before saving.
Preserve and Share Your Ideal Moments
Once you’re pleased with your edited video, tap ‘Done’ to save it as a new clip. This ensures your original video remains intact for future use. The new video will be stored alongside the original in your Photos library, ready to be shared or further edited.
Mastering iPhone Video Edits
Editing videos on your iPhone is a straightforward process that offers a quick way to tailor your videos for social media or personal archives. With each edit, you gain more confidence and skill in video trimming, enhancing your digital storytelling abilities.